Windows 7 has been released for such a long time, many people insert solid state drive (SSD) when updating computers. The read and write speed of SSD is much faster than traditional mechanical disk, so it is good choice for Operating System and applications. But on the other hand, the size of SSD is much smaller, because it is still expensive.
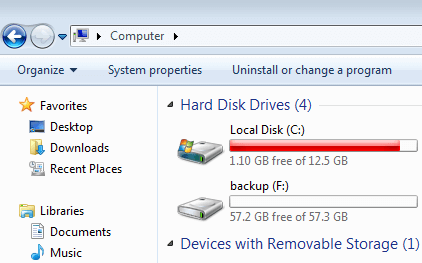
No matter you use SSD, traditional disk or even hardware RAID array, system C drive is running out of space , because Windows Updates, applications and many other kinds of files write into C drive continuously every day.
What to do when it happens, replace this disk with another new one? HDD manufacturers will be glad if you do that, because you may buy several disks every year. In fact, most of low disk space issue of C drive can be solved except you use a very small disk. In this article, I'll introduce how to free up disk space in Windows 7 32/64 bit with native Disk Cleanup utility and other methods. In addition, you'd better expand C drive to larger size with free space in other volumes.
Clear up disk space as fast as possible
When the system C drive is filling up, your computer may not perform as well as before. In general, you'll suffer from computer performance down. If C drive becomes almost full, your computer may stuck, reboot unexpectedly or even crash. It will be too late if the computer cannot boot because of no free disk space in system partition C drive. So try to free up space in Windows 7 as fast as possible.
How to free up disk space in Windows 7 32/64 bit
To reclaim/free up disk space in Windows 7, the first choice and easy way is running the built-in Disk Cleanup tool. Windows 7 Disk Cleanup utility can remove most common types of unnecessary and junk files fast and safely.
Steps to free up disk space in Windows 7 with Disk Cleanup utility:
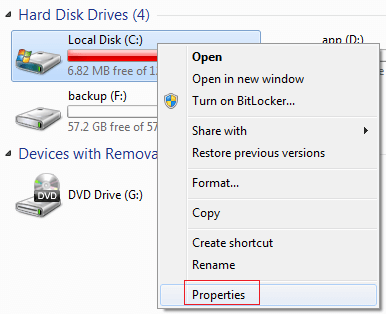
Step 1: Open File Explorer, right click C drive and click Properties:
Step 2: Click Disk Cleanup
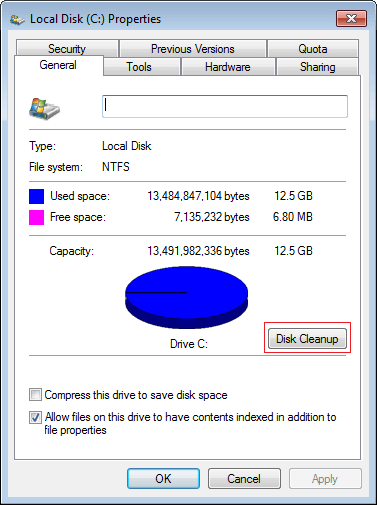
Another way: press Windows and R keys together, type cleanmgr and press Enter, and then select C: drive in the drop-down list.
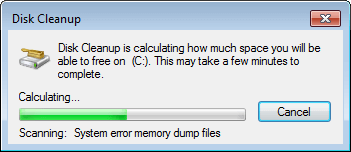
Wait for Disk Cleanup to calculate how much space can be cleaned up safely. This process can last for a few seconds to a few minutes. The time depends on your computer performance and the amount of junk files.
Step 3: Select the files that you want to delete and click OK to proceed. Highlight each option you'll see corresponding description. (Make sure that you've clicked the check-boxes for each type of files that you want to clear up.)
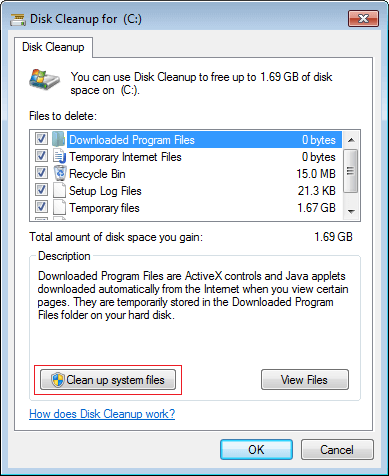
Step 4: Repeat to clean up system files in the same window. Within one minute or two, the same Disk cleanup menu will appear with additional types of files to delete.
- Service Pack Backup: Windows keeps old versions of files updated by service packs. Be aware that if you clear these files, you'll be unable to uninstall the service pack.
- Temporary Windows installation: These installation files are used by Windows setup and left over from the installation process, feel free to delete these files.
- Windows Updates: Windows retains a copy of each newly-installed Windows Update, deletes older versions of updates that you no longer need.
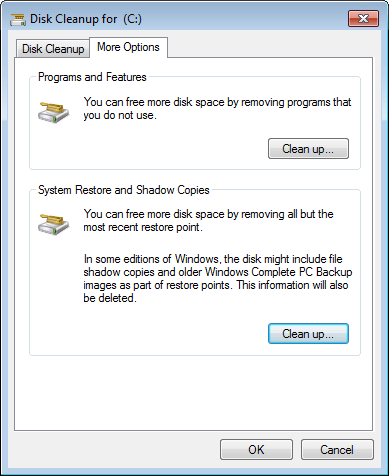
Step 5: To get more free space, you may switch to More Options tab, where you can clean up installed programs and System Restore points.
This native Disk Cleanup utility is very useful to the computers that never free up space in Windows 7.
Additional options to free up disk space in Windows 7
If Windows 7 Disk Cleanup cannot free up enough disk space, there are additional options for you:
① Disable Hibernate
Hibernation uses large amount of disk space. From administrative command prompt, type "powercfg -h off" to get that space back. (Don't turn it off if you use the feature).
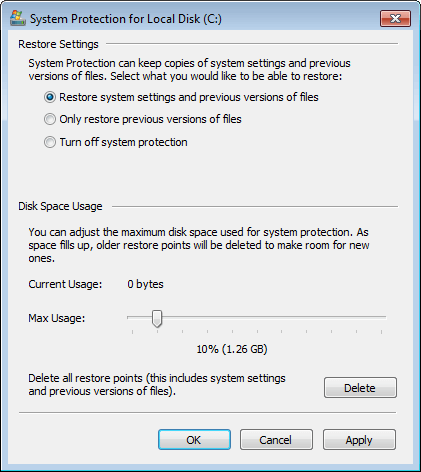
② Decrease disk space usage for System Restore
Windows 7 keeps backups of lots of system files every time something major such as driver installation and software installations happens, and after a while this can take up lots of space. You may completely turn it off to release all disk space or decrease the space usage for System Restore.
To open Windows 7 System Restore:
Click Windows > Control Panel > System > System protection
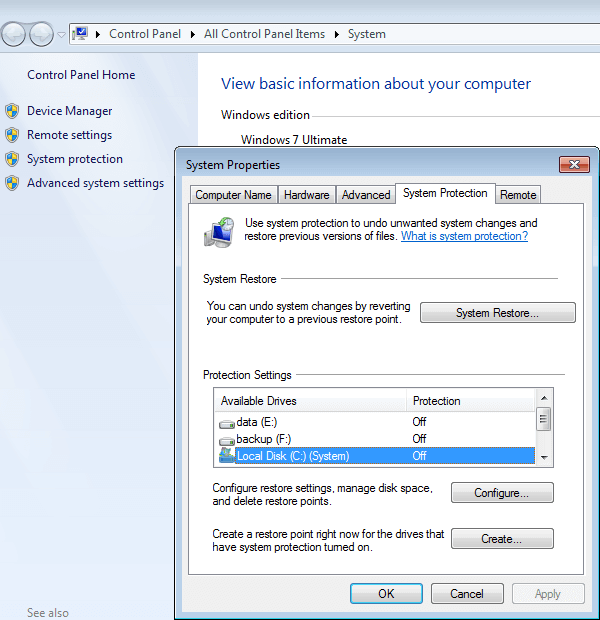
To turn off or decrease disk space usage:
Click Configure in System Protection tab, there are 3 options and select one, you can adjust the maximum disk space usage or system protection by dragging on Max Usage bar.
Turning off system protection won't delete all restore points automatically, to do this, you should click the Delete button on the bottom.
③ Move paging file
Page file is used by Windows as RAM and it's located in C drive by default, you can decrease it or set it to other volume.
To do this:
- Press Windows and R on keyboard to start Run.
- Input sysdm.cpl ,3 and press Enter.
- Click Settings under Performance in Advanced tab.
- Click Change under Virtual Memory.
- Uncheck Automatically manage paging file size for all drives on the top.
- Select D: or other drive, enter amount of Initial size and Maximum size in Customer size radio box, and then click Set.
- Select C: drive and select No paging file radio box, then click Set.
- Click OK. (It requires reboot to take affect)

④ Uninstall unused programs
Consider uninstall the programs that you no longer or seldom use, the more program uninstalled, the more disk space will be released.
⑤ Transfer files and modify program settings
Some program such as Games, Projects and Videos output very large files, you may modify the default output path to other volume and transfer these files to new locations.
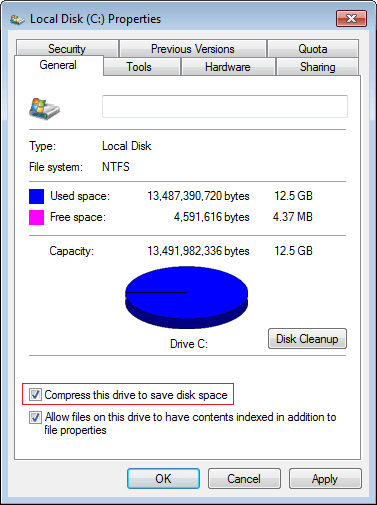
⑥ NTFS Compression
This is a great feature of NTFS files system. If you've got a bunch of folders with old crap in them, but you don't want to delete them, then consider compressing them to save disk space.
To do this, right click C drive and click Properties, click the check-box of Compress this drive to save disk space.
To a Windows 7 computer that never free up disk space, you may reclaim over 10 Gigabytes disk space, however, this is not the final step.
Many people feedback that C drive becomes full again after freeing up disk space. Because new junk files are generated continuously, so 10GB free space will be eaten up quickly. To completely solve this problem, you'd better expand C drive as large as possible.
⑦ Expand C drive to larger size
Disk partitions are created while installing Windows or built by OEM manufacturers, but you can change size of each partitions without reinstalling OS/programs or losing data, of course with safe partitioning software.
Better than other software, NIUBI Partition Editor has unique 1 Second Rollback, Virtual Mode and Cancel-at-will technologies to protect system and data. In addition, it is much faster because of its special file-moving algorithm. It has free edition for Windows 7/8/10 home computer users.
This step is very important if you cannot reclaim enough free space with Disk Cleanup utility and to the computers that C drive are created small.
Download NIUBI Partition Editor Free and follow the steps in the video to resize and extend C drive in Windows 7.

Besides resizing allocated partition, this tool helps you do many other disk partition management operations such as merge, copy, convert, defrag, wipe, hide, scan partition, etc.
After expanding system partition C, you still need to consider following steps:
- Install new programs to separate drive such as D.
- Change file output path of installed programs to other large drives, especially to the programs for games, videos, photos and projects.
- Run Windows 7 Disk Cleanup once a month to delete new generated junk files.