One of the common issue in Hyper-V vm is that the whole virtual disk becomes full. What will you do in that case, add another larger disk and copy or restore from original disk? There's much faster and easier method - expand virtual hard disk drive directly. To do this, there are two ways. Each way has its advantage and disadvantage. This article introduces detailed steps to expand vm hard disk drive in Hyper-V.
Way 1 - expand vm hard disk in Hyper-V with PowerShell command
Expanding vm hard disk with PowerShell is the fastest and easiest way, however, before expanding you should shut down Hyper-V virtual machine and delete the Checkpoints associated with disk that you want to expand.
How to expand hard disk for Hyper-V virtual machine with PowerShell:
- Open PowerShell with Administrator privilege from Quick Launch bar or Start menu.
- Type Resize-VHD -Path 'E:\yourown.vhdx' -SizeBytes 200gb

Note:
- E:\yourown.vhdx means absolute path and name of the virtual disk with quotes.
- 200gb means expanding vm hard disk to 200GB, not adding 200GB.
Way 2 - expand vm hard drive online with Hyper-V Manager
With Hyper-V Manager, you can expand vm hard drive dynamically without shunting down the guest virtual machine. However, it requires much more steps, in addition, you'd better also delete the Checkpoints with associated virtual disk(s).
How to expand vm hard disk drive with Hyper-V Manager:
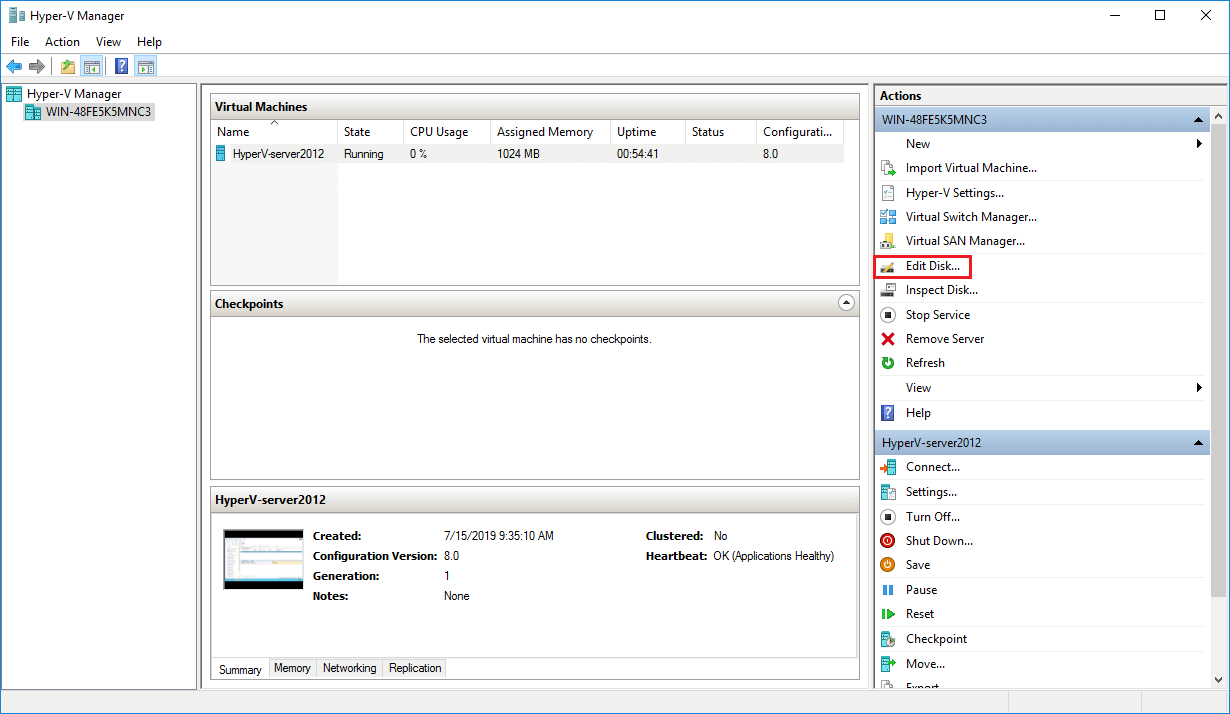
Step 1: Open Hyper-V Manager, click the host in left panel, then click Edit Disk in Actions panel on the right.
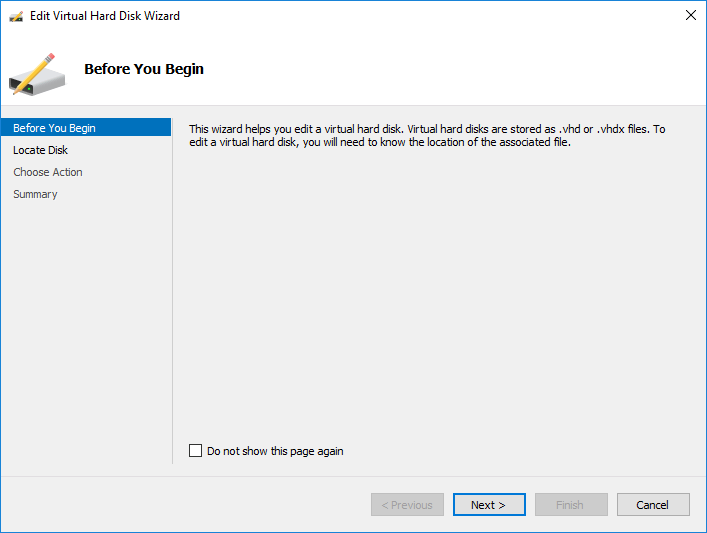
Step 2: Click Next in the pop-up Edit Virtual Hard Disk Wizard window.
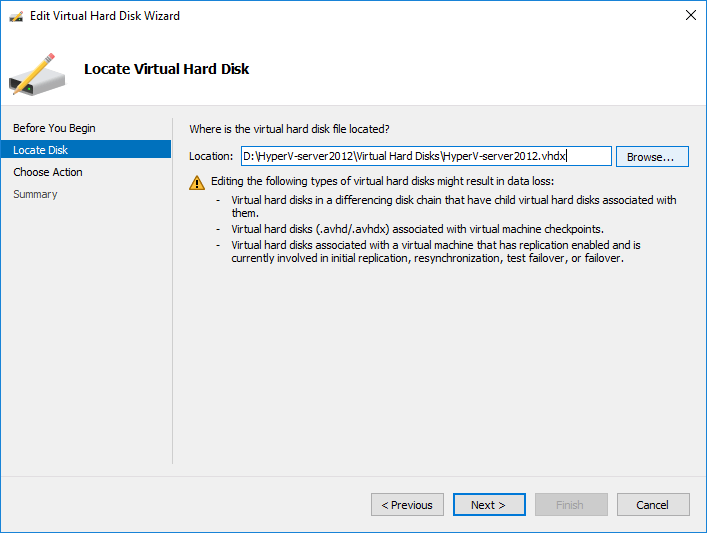
Step 3: Click Browse on the top to locate your VHD/VHDX virtual disk file and then click Next.
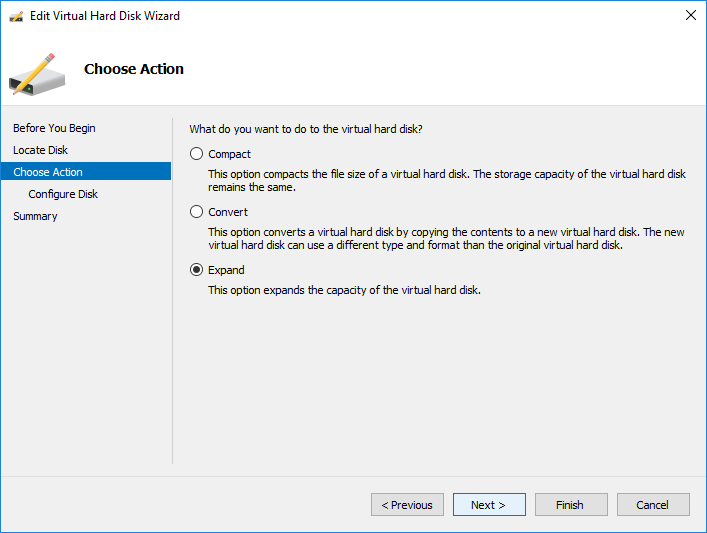
Step 4: Select Expand option and click Next. (If you did not shut down virtual machine, there's only Expand option.)
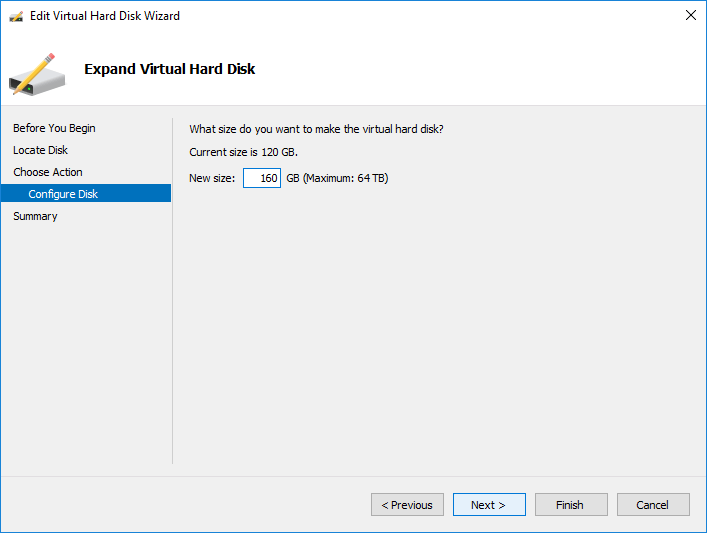
Step 5: Enter an amount of new size and the click Next.
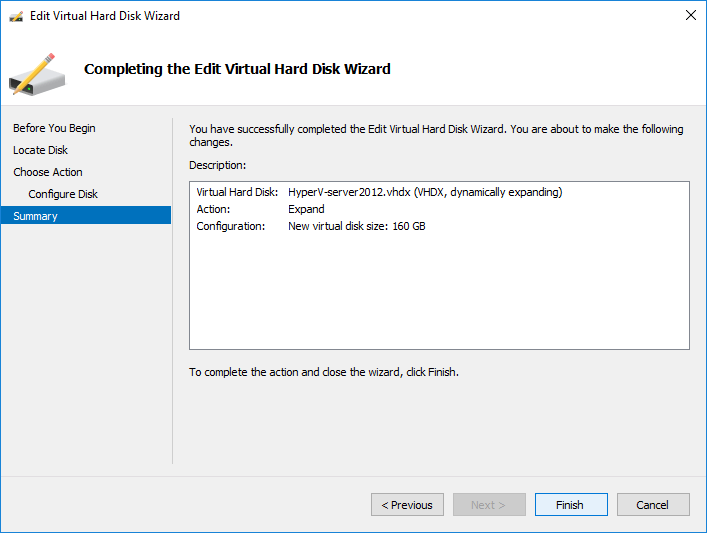
Step 6: Review the expanding operation and click Finish to proceed.
In a short while, original virtual hard disk will be extended and additional disk space will be shown as unallocated at the end.
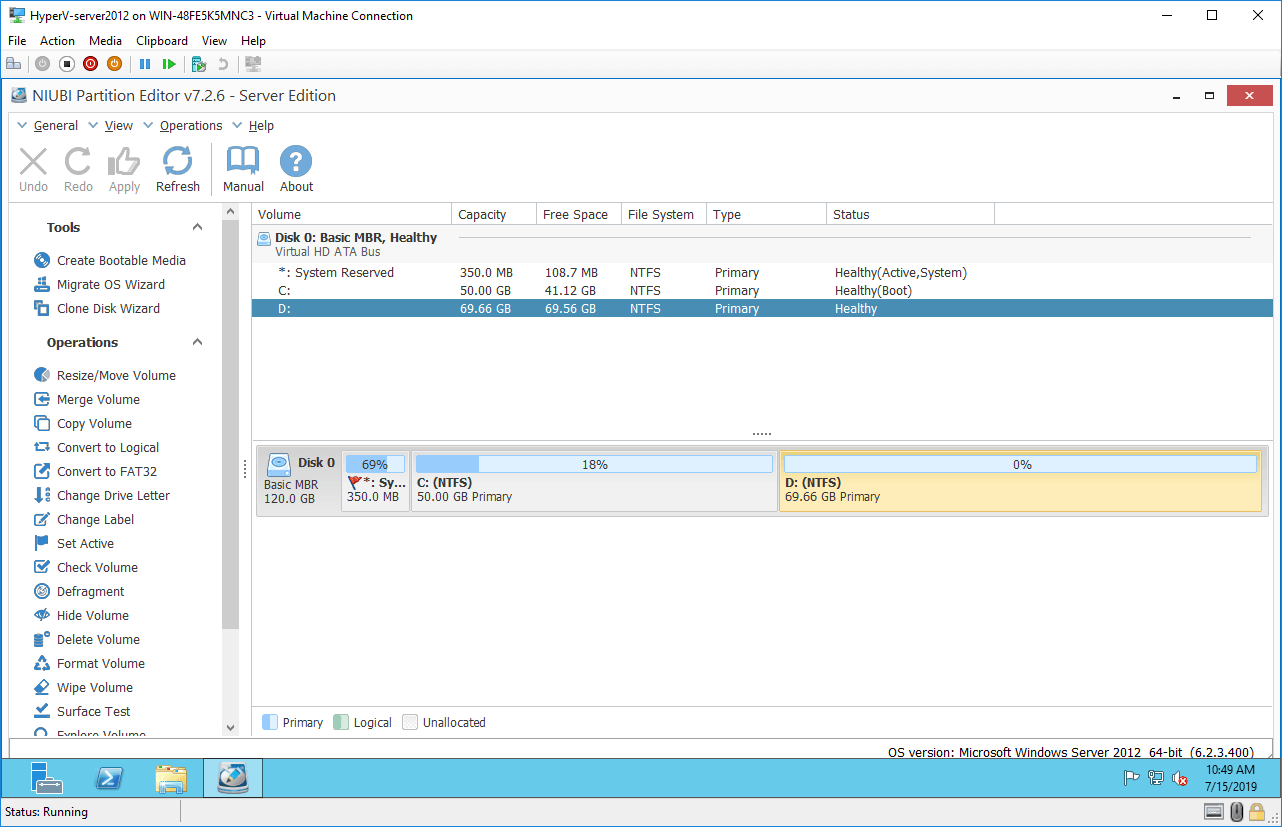
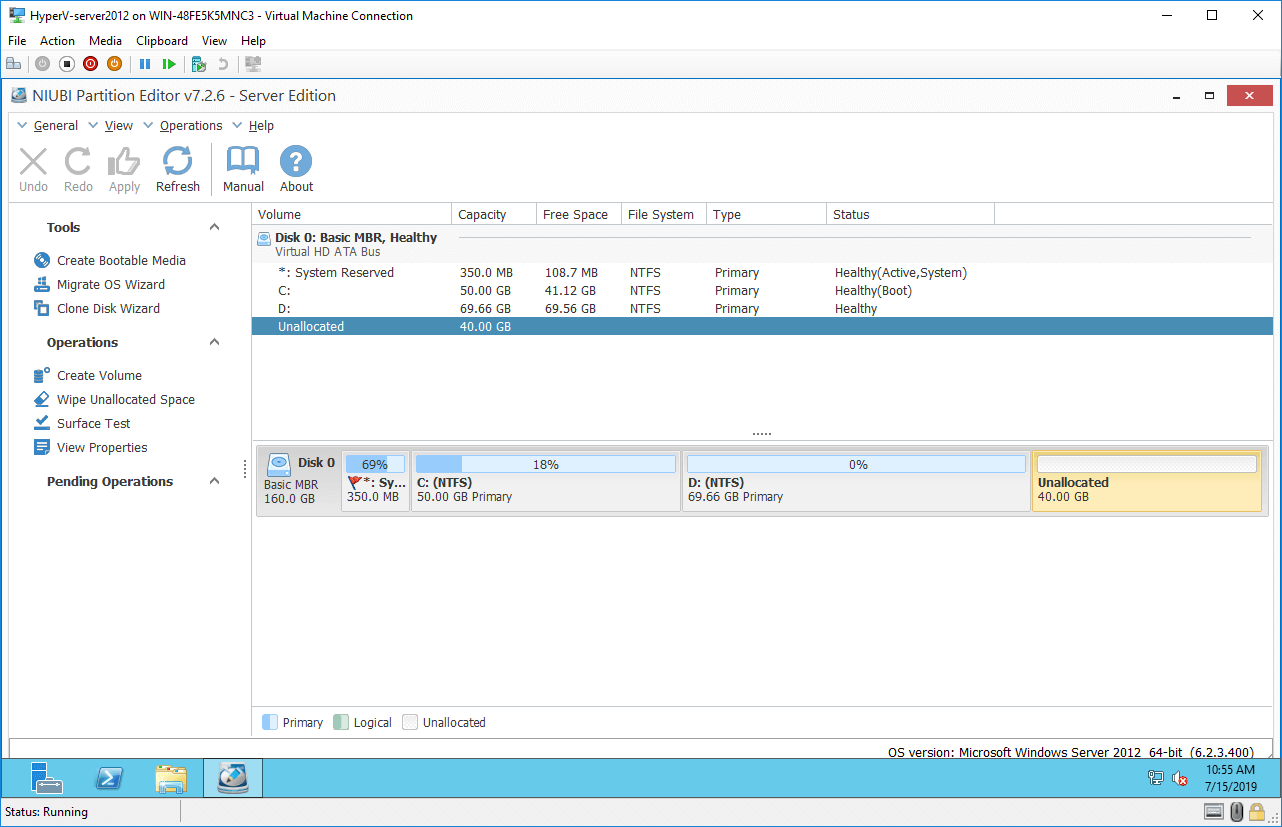
If you keep Windows Disk Management or NIUBI Partition Editor running while expanding virtual disk, you need to click "Refresh" button to load latest disk partition parameters. In some Windows versions, you need to re-open Disk Management.
How to extend virtual partition after expanding hard disk
After expanding vm hard drive, you need to add the additional unallocated space to system partition C and/or other volumes. To accomplish this task, NIUBI Partition Editor is very easy and fast, you just need to drag and drop on the disk map.
Download NIUBI Partition Editor and follow the steps in the video:

Note: if there's another partition such as D: in the middle, to extend system C drive, you need to move unallocated space behind it first.
To do this, right click drive D: and select "Resize/Move Volume", drag the middle of this partition towards right in the pop-up window. If you want to extend the contiguous partition with unallocated space, you can combine directly without moving. (Drag right border towards right in the pop-up window.)