Applies To: Windows 11/10/8/7, Windows Server 2003, Windows Server 2008, Windows Server 2012, Windows Server 2016, Windows Server 2019 and Windows Server 2022.
With VMware you can build many virtual machines in a single physical computer, it saves much cost. You can easily add, remove and edit the simulated hardware for each virtual computer. You can also change boot mode, create snapshot for check point or fast back up and recovery.
When a virtual disk is running out of space, you can expand VMware disk fast and easily, without wasting a long time to clone or restore to other larger disk. Before expanding disk for VMware virtual machines, 2 things you should do:
- Remove the snapshots if you created before.
- Turn off the associated virtual machine.
After expanding a VMware virtual disk successfully, additional space will be shown as unallocated at the end of original disk, then you can extend any virtual partition on this disk with extra unallocated space.
How to expand disk in VMware Workstation via wizard
VMware Workstation is common used virtual machine tool in Windows computers. It works with graphical interface, so it is better for personal users. Once again, check if there are snapshots created and power off this virtual machine before starting.
How to determine whether there is snapshot in VMware Workstation:
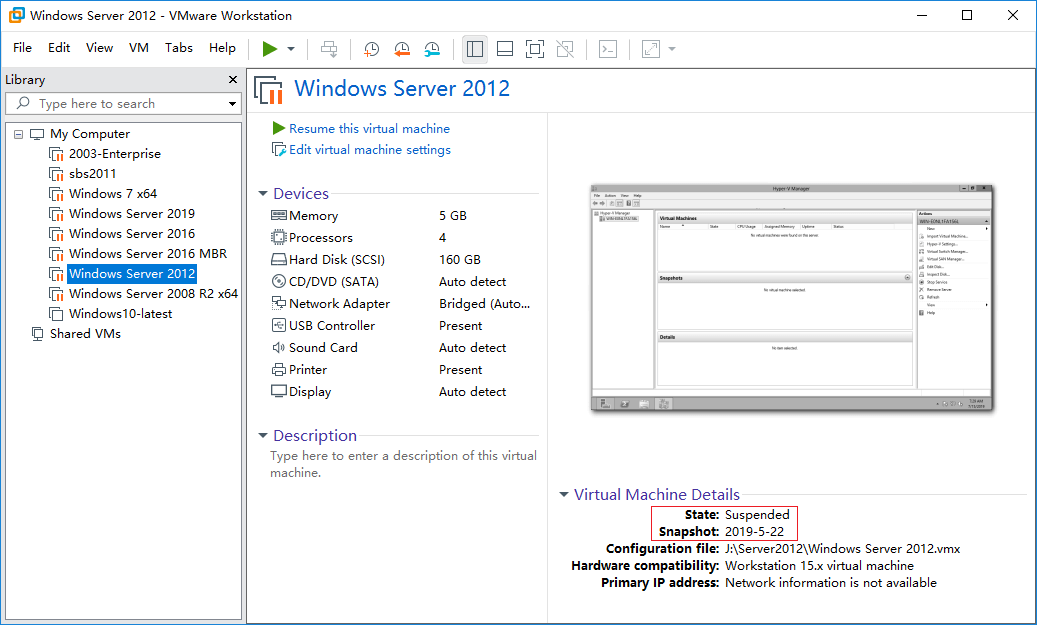
Click Tabs from top menu bar and select the virtual machine, or simply click it in the Library, then you'll see all devices and details on the right.
In my Windows Server 2012 virtual machine, there is a snapshot and its state is Suspended.
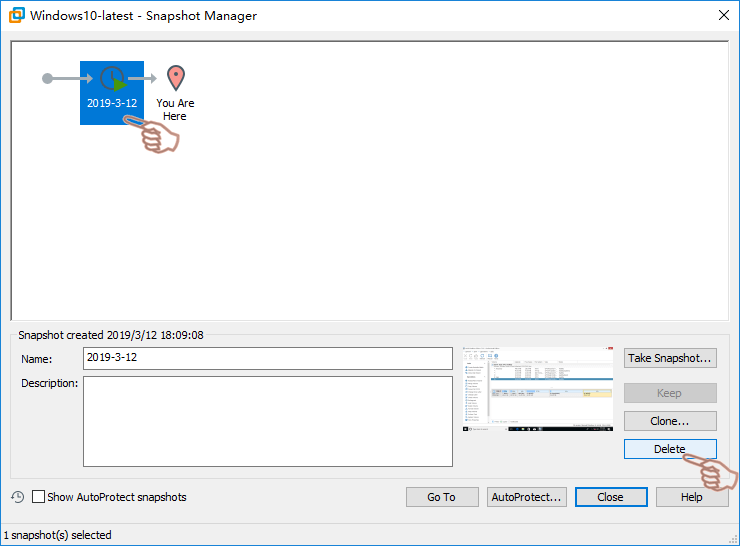
How to remove snapshot of a VMware virtual machine:
- Click VM from top menu bar, then click Snapshot > Snapshot Manager.
- Click the snapshot before "You are Here" on the top, then click Delete on bottom right.
Steps to expand/increase disk size in VMware Workstation and Player:
Applies to: VMware Workstation 7 and later, VMware Player 3.x and later.
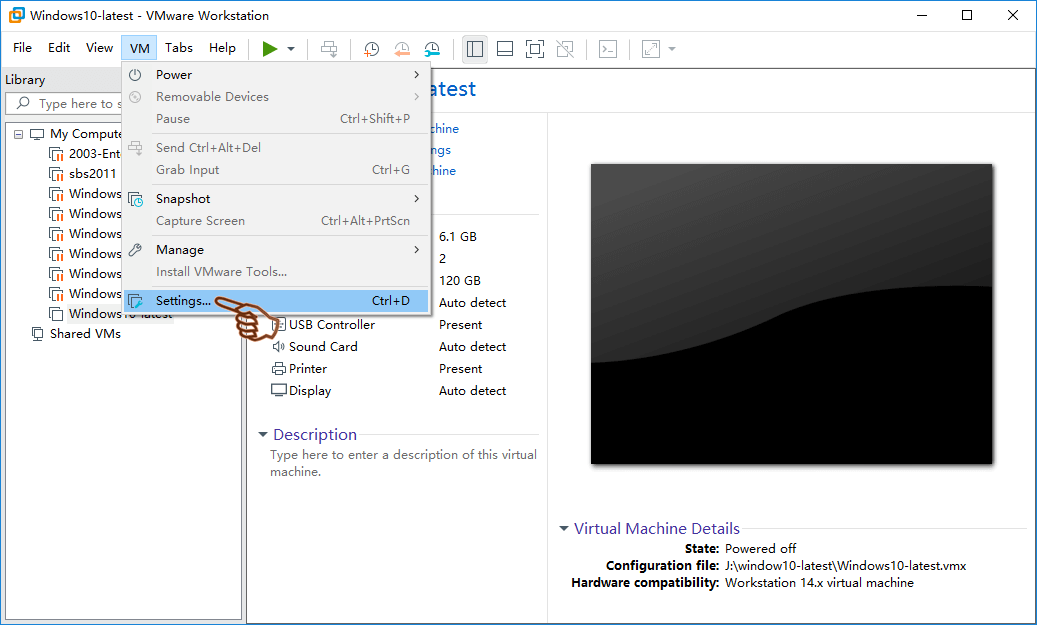
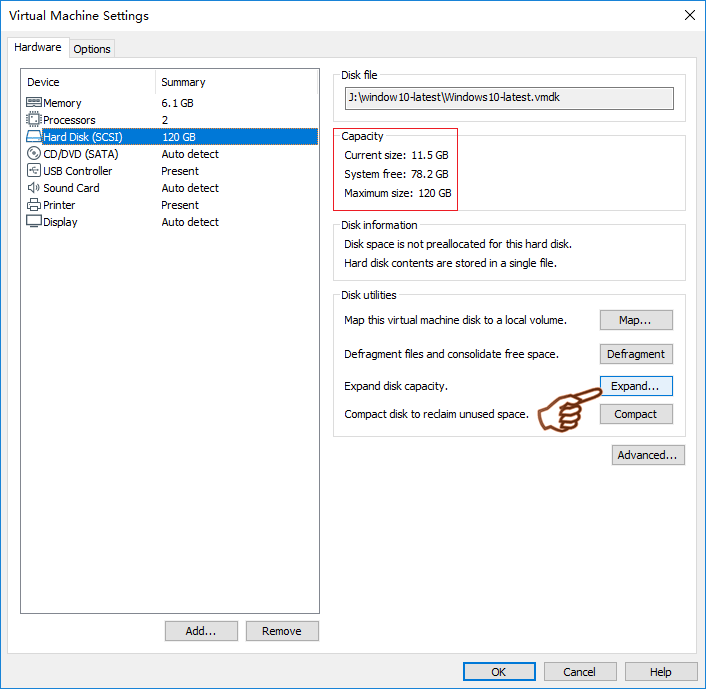
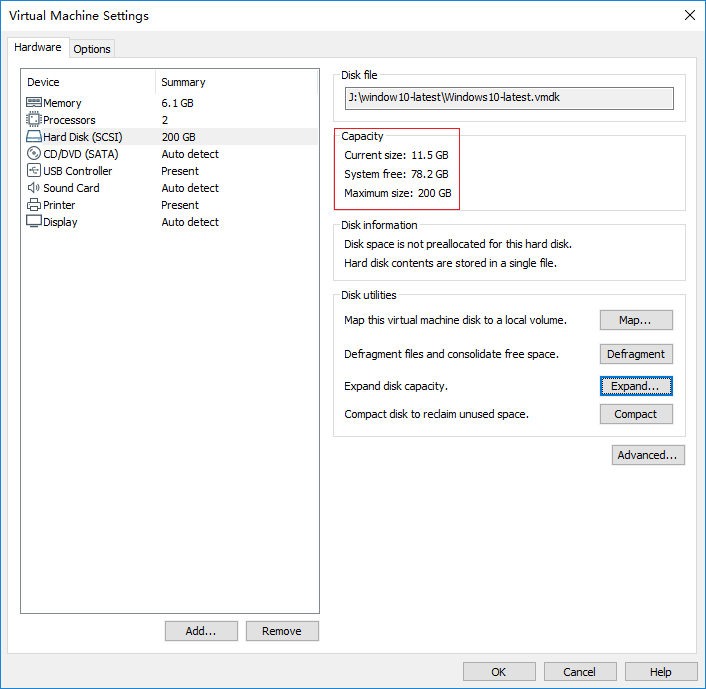
Step 1: Click VM from top menu bar, then click Settings, or click Edit Virtual Machine Settings in a virtual machine tab.
Step 2: Click Hard Disk on left panel, then click Expand on the right, and then click OK on the bottom.
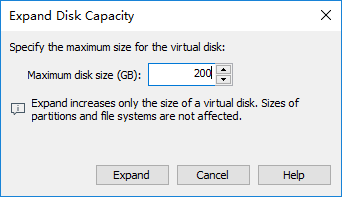
Step 3: Enter an amount of new disk space and click Expand.
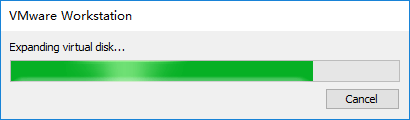
Then VMware begin to expand disk space.
Several minutes later, it reports disk was expanding successfully.
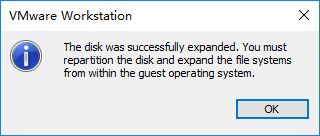
After clicking OK, as you see in my VMware, this disk is increased from 120GB to 200GB.
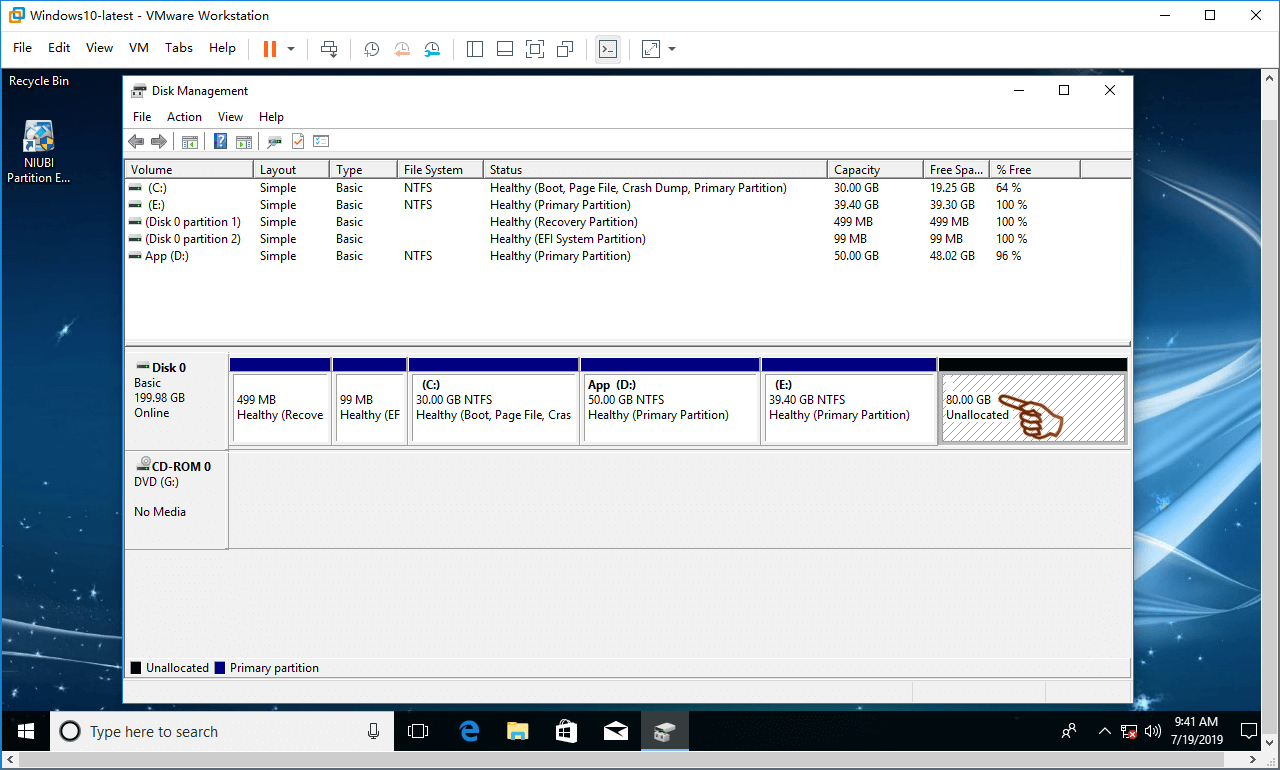
Turn on this virtual machine and check disk capacity in Disk Management. Yes, the virtual disk is increased to 200GB, there is 80GB unallocated space at the end of disk 0.
How to increase disk size/space in VMware with command
VMware also provides a command prompt tool "vmware-vdiskmanager" to increase virtual disk size in VMware Workstation, VMware Player, VMware ACE Manager, VMware Server and VMware GSX. The steps are easy and similar.
Before starting, you should locate two positions in your own computer:
- VMware installation path, in my computer, it is in "D:\Program Files (x86)\VMware\VMware Workstation"
- .vmdk file of the virtual disk that you want to expand, in my computer, it is in "J:\window10-latest"
Steps to expand virtual disk size with vmware-vdiskmanager command prompt:
Step 1: Press Windows and R together on the keyboard, then type cmd and press Enter.
Step 2: Type cd /d D:\Program Files (x86)\VMware\VMware Workstation to enter VMware installation directory path.
If you installed VMware in default C: drive, type C:\Program Files (x86)\VMware\VMware Workstation in cmd window.
If you changed the default installation path to other drive (like me), remember to type "cd /d + your own installation path".
Step 3: Type the command vmware-vdiskmanager –x 200Gb vm.vmdk and press Enter.
Replace "vm.vmdk" with the full path of your own VMDK. If there are spaces in the path, remember to add quotes. To me, it is "J:\window10-latest/Windows10-latest.vmdk"
Replace 200Gb with the amount that you want to increase this virtual disk to.
How to enlarge partition after expanding VMware disk
After expanding virtual disk for VMware, extra space is shown as "unallocated" at the end of disk in VMware virtual machine, then you can expand the virtual partition with this unallocated space.
If you extend partition with Windows inbuilt Disk Management tool, you'll encounter issue:
- If the guest Operating System is Windows XP or Server 2003, there is no "Extend Volume" function.
- To other later Operating Systems, Disk Management can only extend the left contiguous partition with unallocated space. In addition, the left contiguous partition must be formatted with NTFS. On MBR style disk, the left contiguous partition must be primary.
It is better to run 3rd-party software such as NIUBI Partition Editor, it has free edition for Windows 11, 10, 8, 7, Vista, XP home computer users.
Download it and install to VMware machine, follow the steps in the video to expand virtual partition size.
Explanation: right click any NTFS or FAT32, primary or logical partition and select "Resize/Move Volume", in the pop-up window:
- Drag either border towards the other one, then you can shrink this partition to make unallocated space on either side.
- Drag the border opposite to other one, then you can extend this partition by merging adjacent unallocated space.
- Drag the middle of this partition, then you can move this partition and exchange position with adjacent unallocated space.
Besides extending partition in VMware virtual machine, NIUBI Partition Editor helps you do many other disk partition management operations.