The C drive becoming full is a common issue encountered in Windows Server 2019 and 2022. When this crisis occurs, it is critical to first clean up C drive to reclaim valuable storage capacity. To help administrators perform a targeted system optimization, the operating system provides a built-in Disk Cleanup maintenance utility that operates safely and efficiently to remove redundant data. If routine maintenance cannot reclaim sufficient space, expanding the C drive by migrating unused space from other partitions is required. This guide demonstrates how to execute the graphical utility wizard and how to automate the maintenance process using cleanmgr command-line parameters.
How to run Disk Cleanup in Windows Server 2019/2022 using graphical wizard
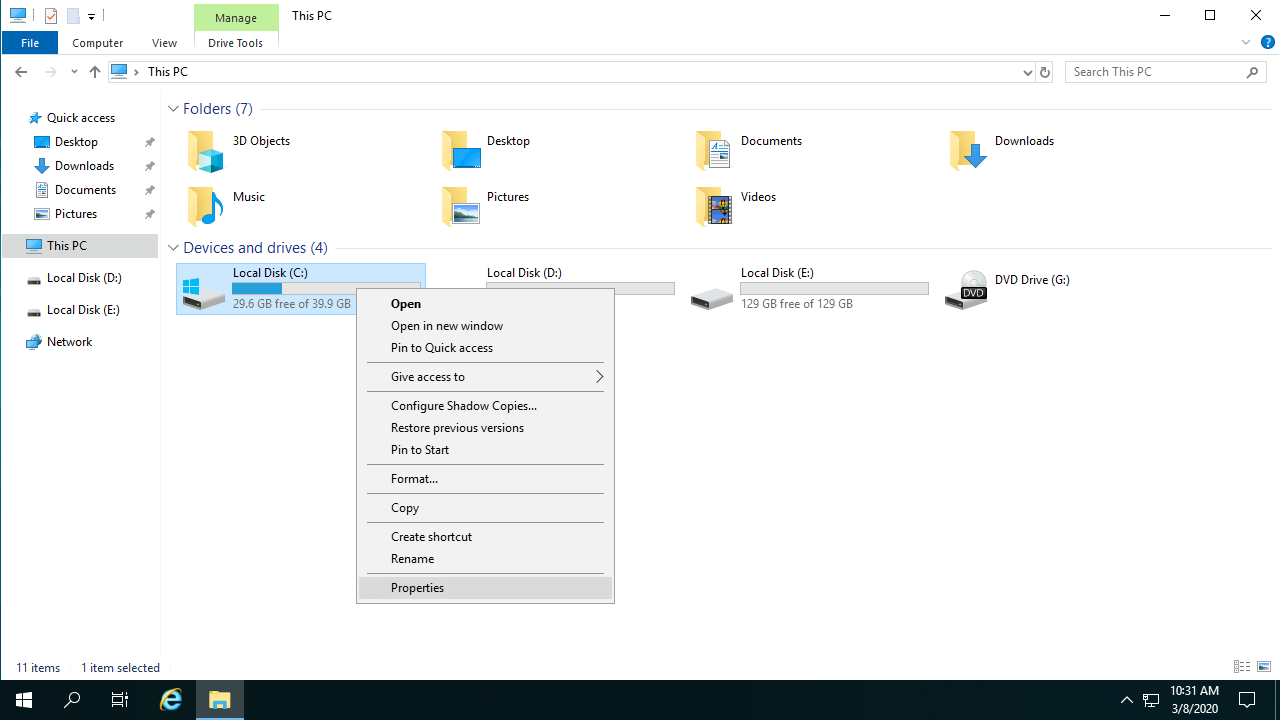
Step 1: Press Windows + E on your keyboard to open File Explorer, right-click the C drive and select Properties.
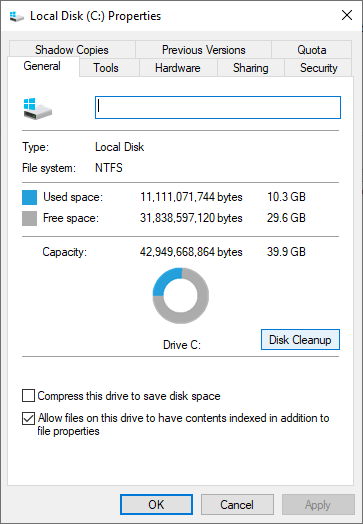
Step 2: Click Disk Cleanup in the pop-up window.
Step 3: Select the checkboxes next to the file categories you want to delete, then click OK and confirm.
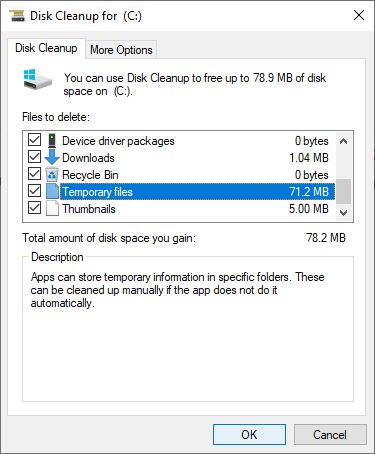
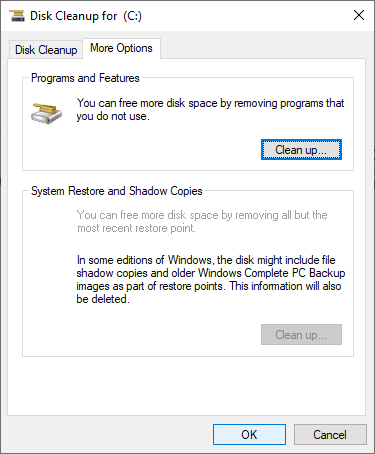
Step 4: Switch to the More Options tab to purge system restore points and volume shadow copies.
If you prefer command-line tools, you can clean up C drive in Windows Server 2019/2022 using the native cleanmgr execution strings.
How to clean up C drive in Server 2019/2022 with cleanmgr command options
There are several ways to clear out clutter via the cleanmgr command line; select the method that best fits your environment layout.
Way 1: Select files and confirm manually
- Press Windows and R together on the keyboard to launch the Run box.
- Type cleanmgr and press Enter.
- Select the C: drive (or alternative volume) from the drop-down menu and click OK.
- The interactive storage selection interface will appear; follow the same steps detailed above from Step 2.
Way 2: Select all files automatically but confirm manually
- Press Windows + R together to open the Run dialog.
- Type cleanmgr /LOWDISK and press Enter.
- The interface will open with all file categories selected by default, requiring only your confirmation click to execute.
Way 3: Clean up all junk files automatically
- Press Windows and R together on the keyboard.
- Type cleanmgr /VERYLOWDISK and press Enter.
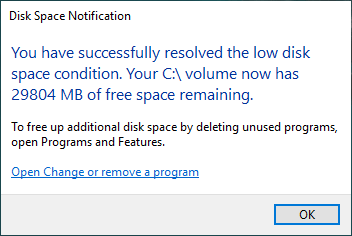
The system will automatically purge redundant data and present a summary dialog box detailing the optimization results.
Way 4: Clean up specified junk files automatically
- Press Windows and R together on the keyboard to open Run.
- Type cleanmgr /sageset:1 and press Enter (you can specify any index value from 0 to 65535).
- When the configuration window appears, select the target file types to remove and click OK.
- Press Windows and R together on the keyboard, type cleanmgr /sagerun:1 and press Enter. The preselected items will be eliminated automatically without displaying a progress window.
In the future, you just need to run cleanmgr /sagerun:1. If you want to delete other types of files, type cleanmgr /sageset:2 in step 2 and run cleanmgr /sagerun:2 in step 4.
Additional optimization steps after clearing storage
Whether you choose to perform a disk cleanup using the graphical wizard or via command automation, the underlying processing mechanism remains identical. While these procedures reclaim server capacity, they rarely recover more than 20GB of free space on long-running production systems. As established initially, the most robust remediation is allocating more unallocated capacity directly to the system volume from alternative storage areas.
Download NIUBI Partition Editor and follow the steps in the video tutorial:
Free space will be safely transferred to the C drive without data loss. The operating system, installed applications, and underlying server settings will remain completely intact. Beyond managing volume scaling, NIUBI Partition Editor provides a comprehensive array of drive optimization tools, including disk cloning, partition merging, conversion, defragmentation, and surface scanning.
Recommendation: Administrators should run the integrated Disk Cleanup utility monthly to prevent temporary files from causing server bottlenecks. Additionally, remember to configure non-system drives as the default output paths for write-heavy applications.