How to resize volume and extend C drive in Windows Server 2012
Windows Server 2012 is the most widely used Windows server platform, though Server 2016 has been released for almost 2 years. The same with previous Windows PC and server Operating System, the most common issue in Windows Server 2012 is low disk space especially for system C drive, which is annoying. Luckily, new computer technologies make things easier and nowadays you can resize volume directly to solve this problem without reinstalling OS or recreating disk volumes. However, few server administrators have such experience, so many people ask me some similar questions such as: is it safe to resize volume on Server 2012, is it possible to expand C drive by getting unused space from D, which is the right partition software for Server 2012. Don’t worry, in this article I’ll introduce how to resize partition and extend C drive on Windows Server 2012 (R2) easily and safely.

Resize partition in Server 2012 Disk Management
About resizing partition, it could be decreasing or increasing partition size. Windows Server 2012 inherited Shrink Volume and Extend Volume functionalities from Server 2008, which can be used to complete this task.
Note: Shrink and Extend Volume can only be used to change partition size of single volume, that is to say, it cannot extend C drive by shrinking D. I’ll explain why in next paragraph.
How to shrink a volume
If you forget to edit disk partition when installing Windows Server 2012, all disk space will be occupied by C drive. As we know, it is not a good idea to keep single C drive and put everything into it. In this situation, you can decrease C drive with Shrink Volume and then part of the free unused space of C drive will be converted to Unallocated, which can be used to create new volumes.
Steps to shrink C drive in Server 2012 Disk Management:
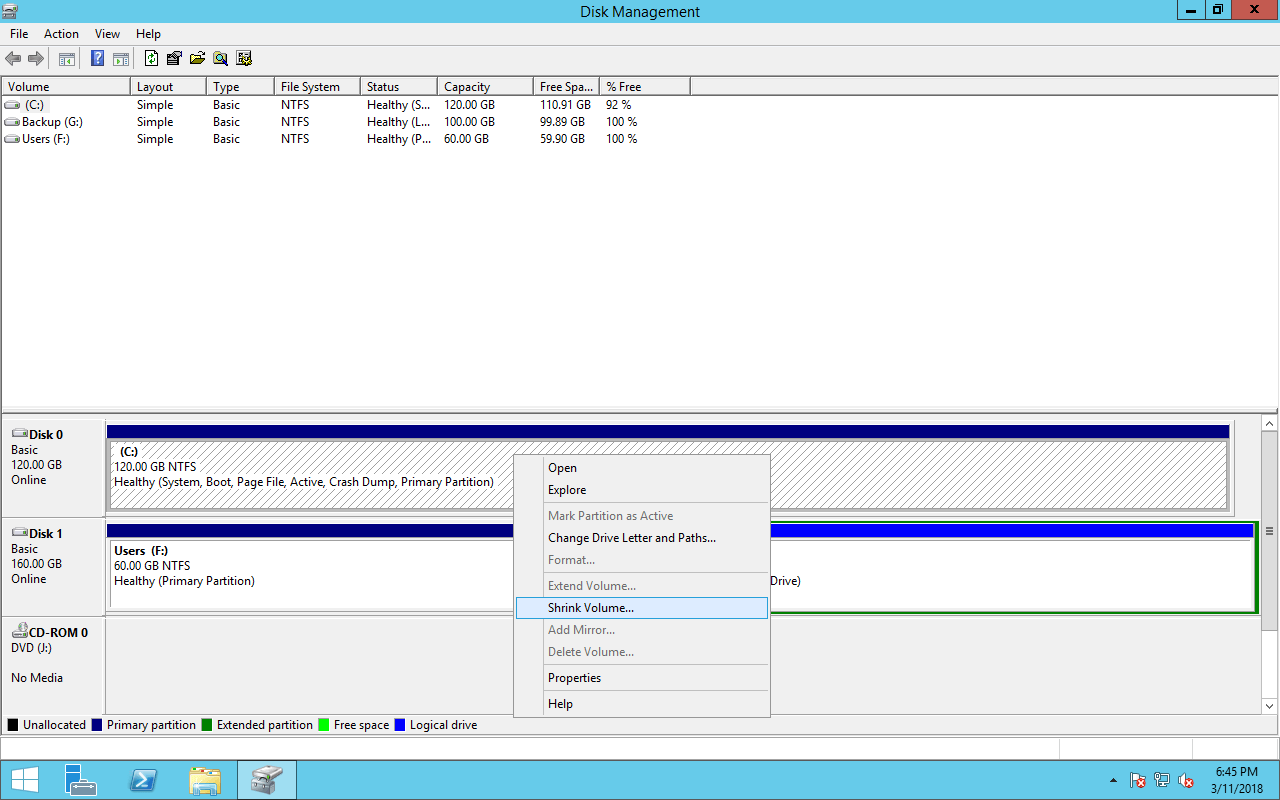
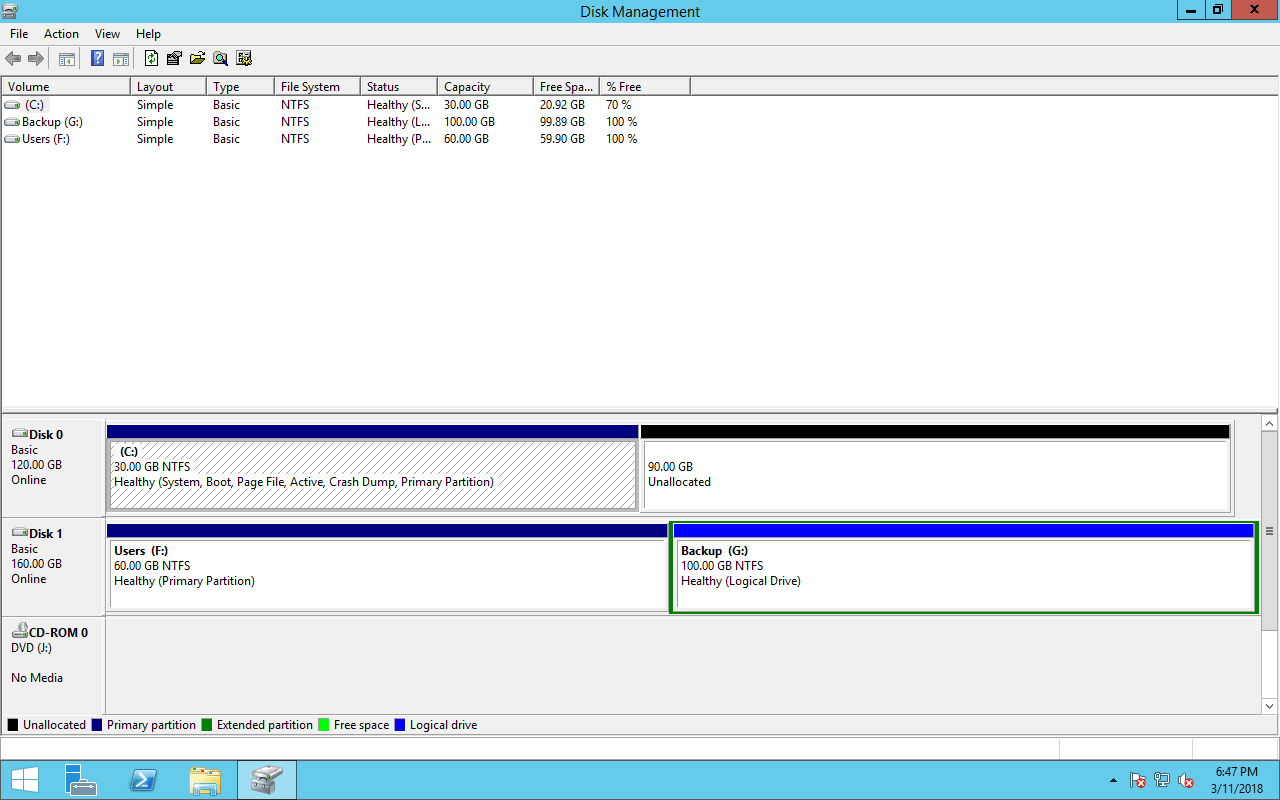
Step 1: Right click the “Windows” flag on bottom left corner and click “Disk Management“, where you’ll see all hard disks and partitions connected to this server.
Step 2: Right click drive C and select “Shrink Volume”
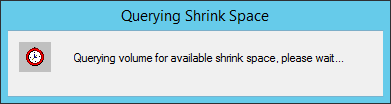
Disk Management will query volume for available space for shrinking.
Step 3: Enter the amount of space to shrink, Click Shrink to execute.
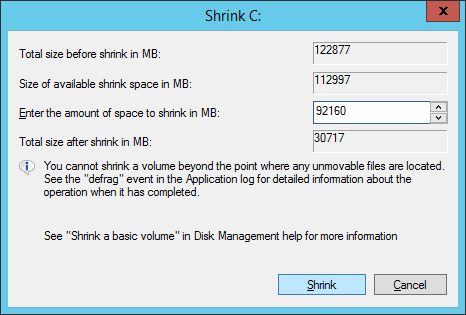
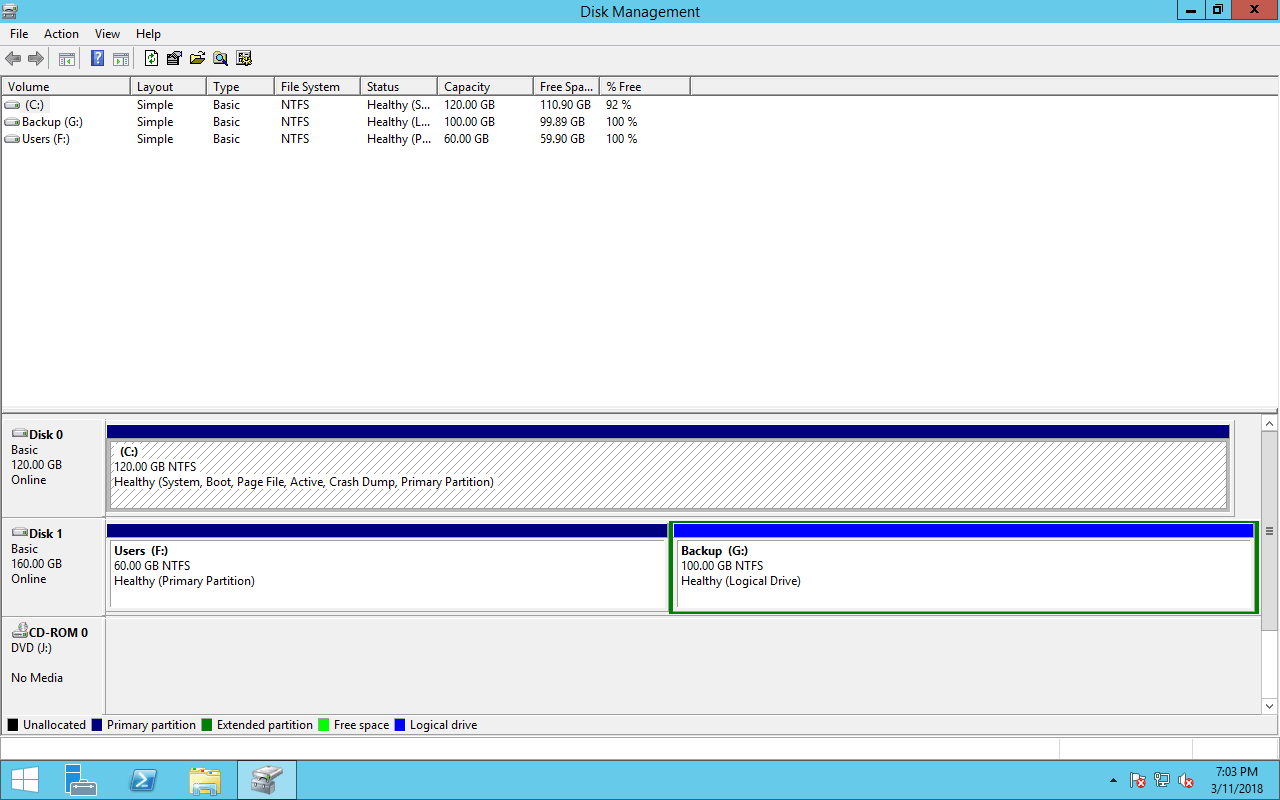
C drive will be shrank in a short time. Now C drive is 30GB and other disk space converted to Unallocated.
How to extend C drive
It is also very easy to extend C drive in Windows Server 2012 Disk Management.
Note: only when there is adjacent Unallocated space on the right side, you can extend C drive in Server 2012 DM, steps:
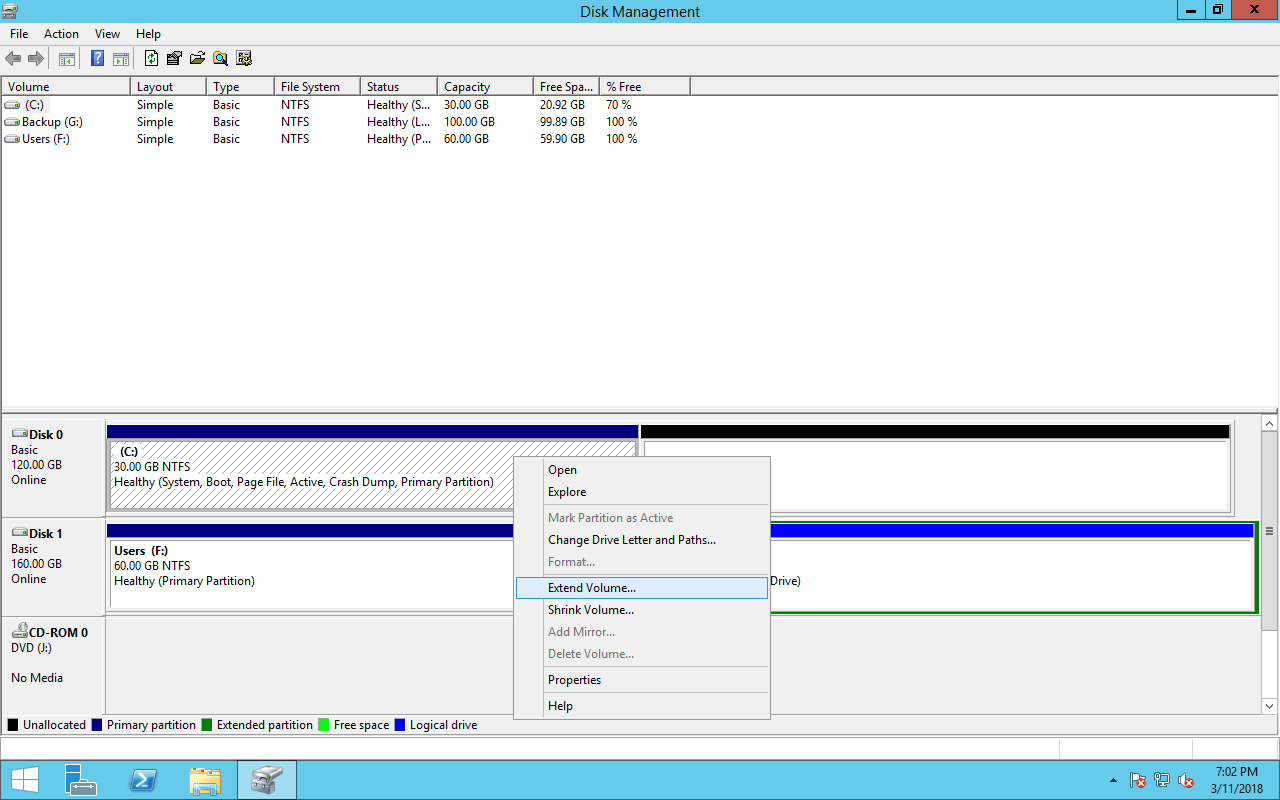
Step 1: Right click C drive and select “Extend Volume“.
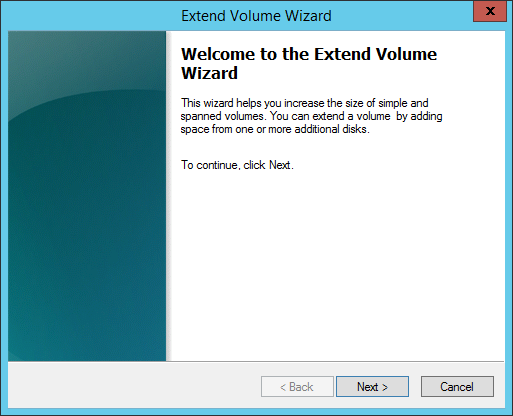
Step 2: Extend Volume Wizard will be launched, click Next to continue.
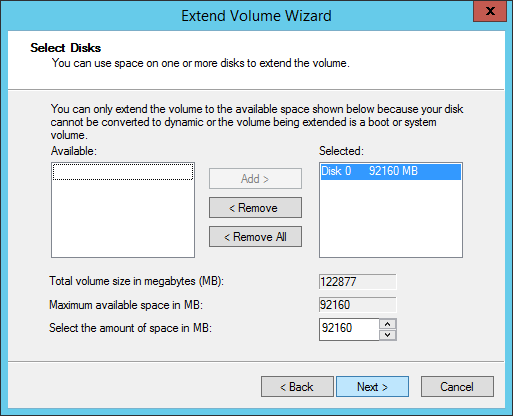
Step 3: Click Next to use default setting, otherwise, select available disk and space manually.
Step 4: Click Finish to confirm extending.
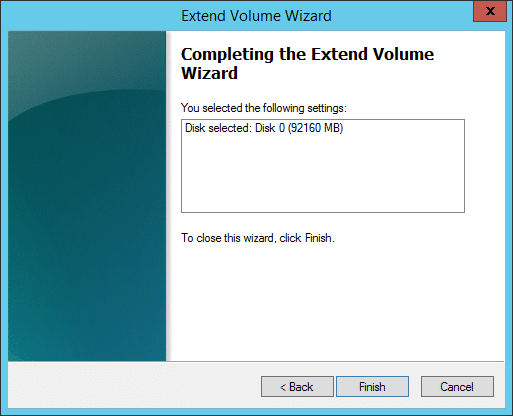
In a short while, C drive will be extended by combining the Unallocated space.
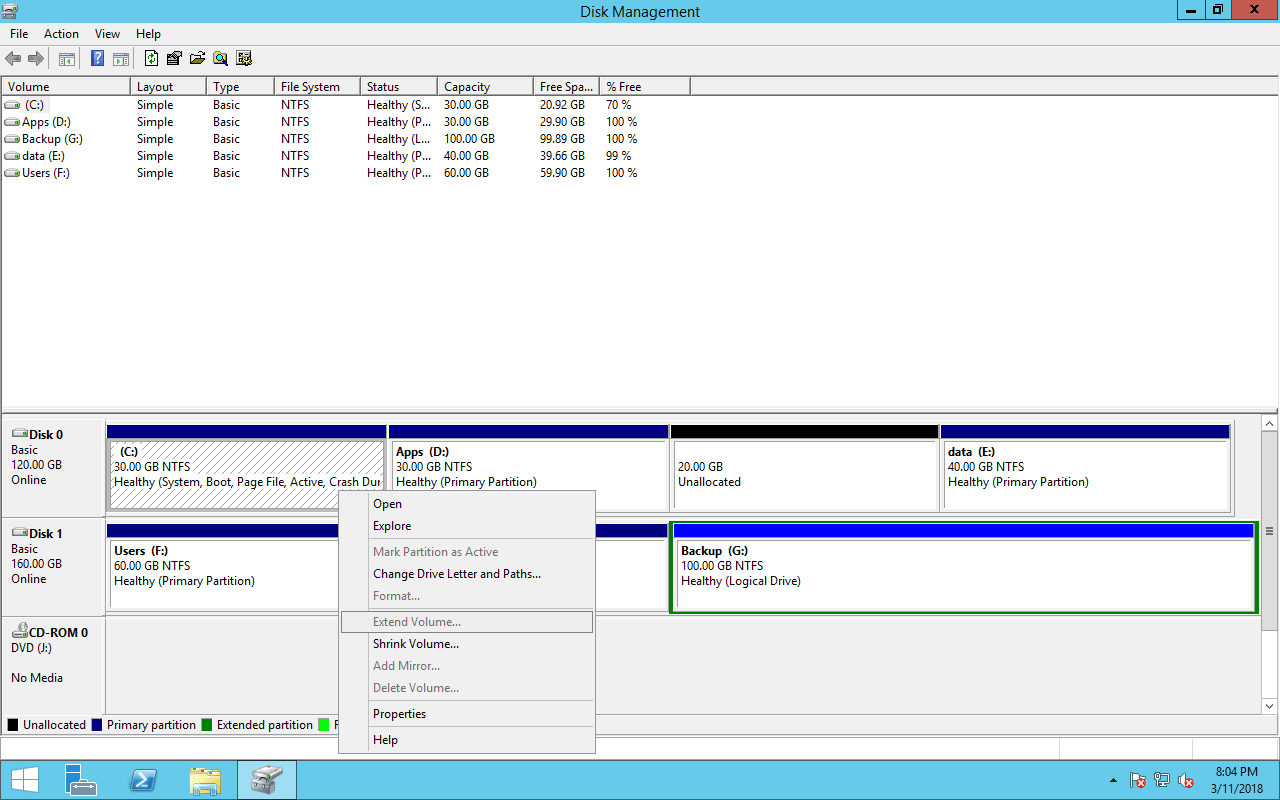
As I said above, you cannot Shrink D to extend C drive in Server 2012 Disk Management. Many people feedback Extend Volume is disabled. If you shrank D to get Unallocated space, when you right click C drive, Extend Volume is grayed out. From Microsoft explanation, only the NTFS partition that has adjacent Unallocated space on the right side can be extended with Extend Volume function.
In this situation, you need to move the Unallocated space to behind C drive with NIUBI Partition Editor. Download it
Right click volume D and select Resize/Move Volume feature, in the pop-up window, drag the middle position rightwards to move it.

Resize volume with partition software
To resize partition and extend C drive on Windows Server 2012, 3rd-party partition software is better choice, you can drag and move to resize partition without any limitations. However, you should pay attention to data safety.
There is risk of system, partition and data damage when resizing volume with partitioning software, because all related parameters should be modified correctly. Any software error or hardware issue such as power failure would cause system boot failure or data loss. Luckily, there is one server partition software – NIUBI Partition Editor, which can ensure 100% system and data safety.
As the safest Windows partition software, NIUBI Partition Editor is integrated unique 1 Second Rollback technology, which can automatically roll back the server to the right status before resizing in ONE second, if any software or hardware issue occur during any operations. This is very important for a server to protect data and rapidly roll back online.
It is also the fastest tool, the unique file-moving algorithm helps resize partition 30% to 300% faster than ANY other tools. The faster the better, right?
Steps to resize partition and extend C drive in Windows Server 2012:
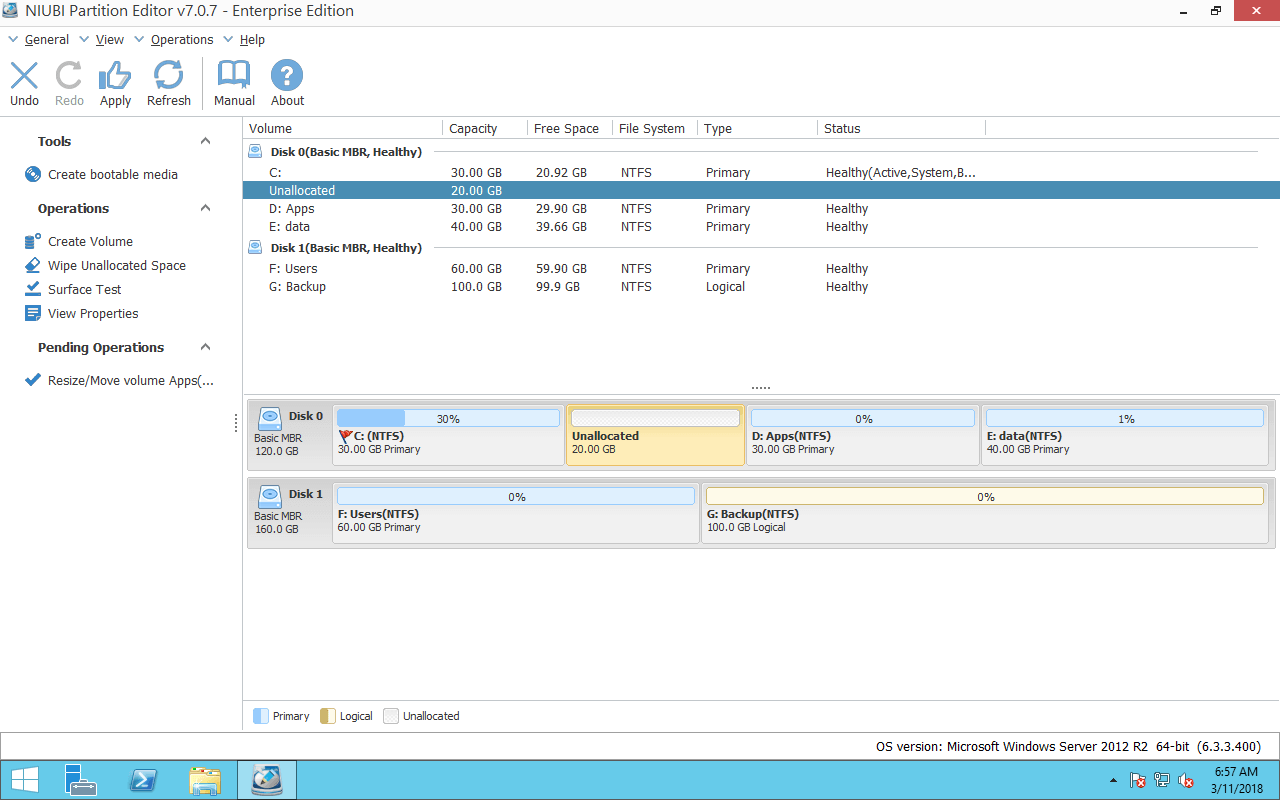
Download and run NIUBI Partition Editor and you’ll see the disk partitions in the main window.
Step 1: Right click drive D and select Resize/Move Volume.
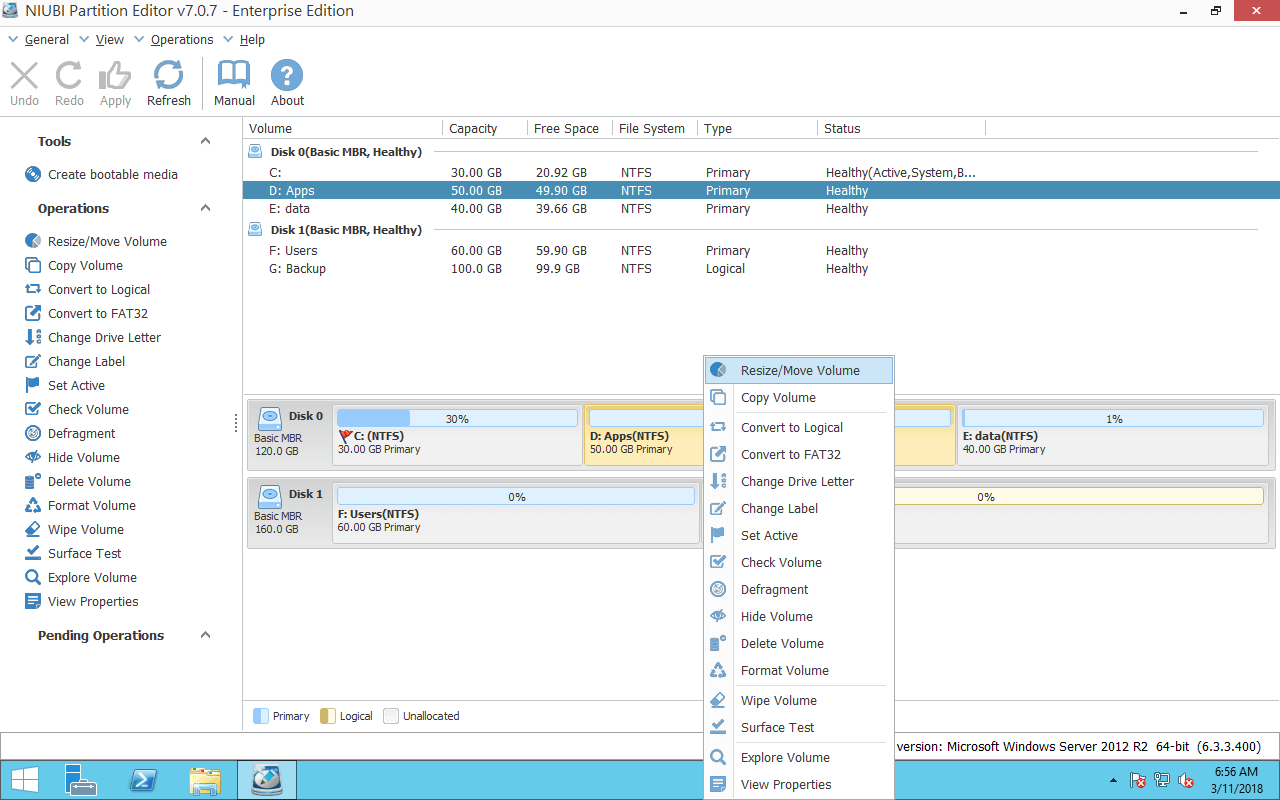
Drag left border rightwards to shrink D in the pop-up window.

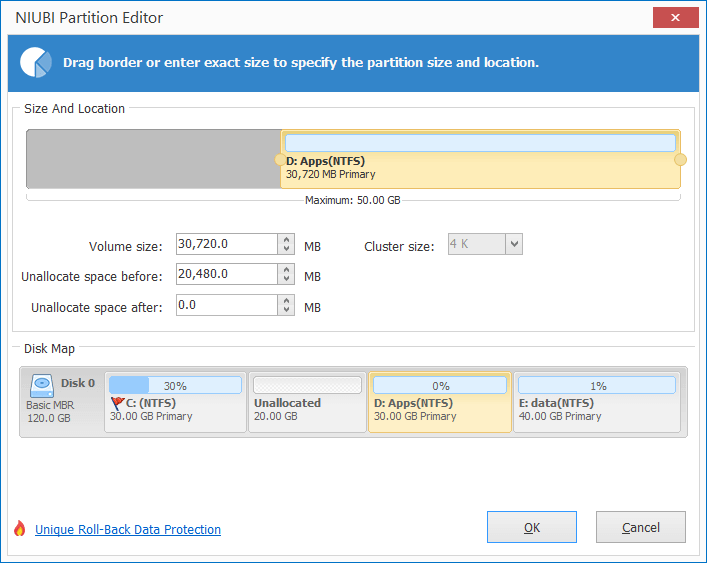
20GB free space is moved out from D and converted to Unallocated space.
Step 2: Right click C drive and select Resize/Move Volume again. Drag right border rightwards to combine the Unallocated space.

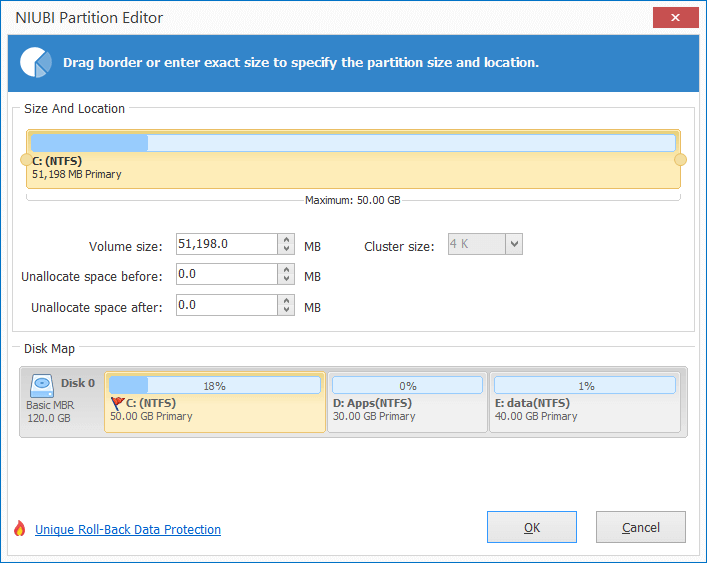
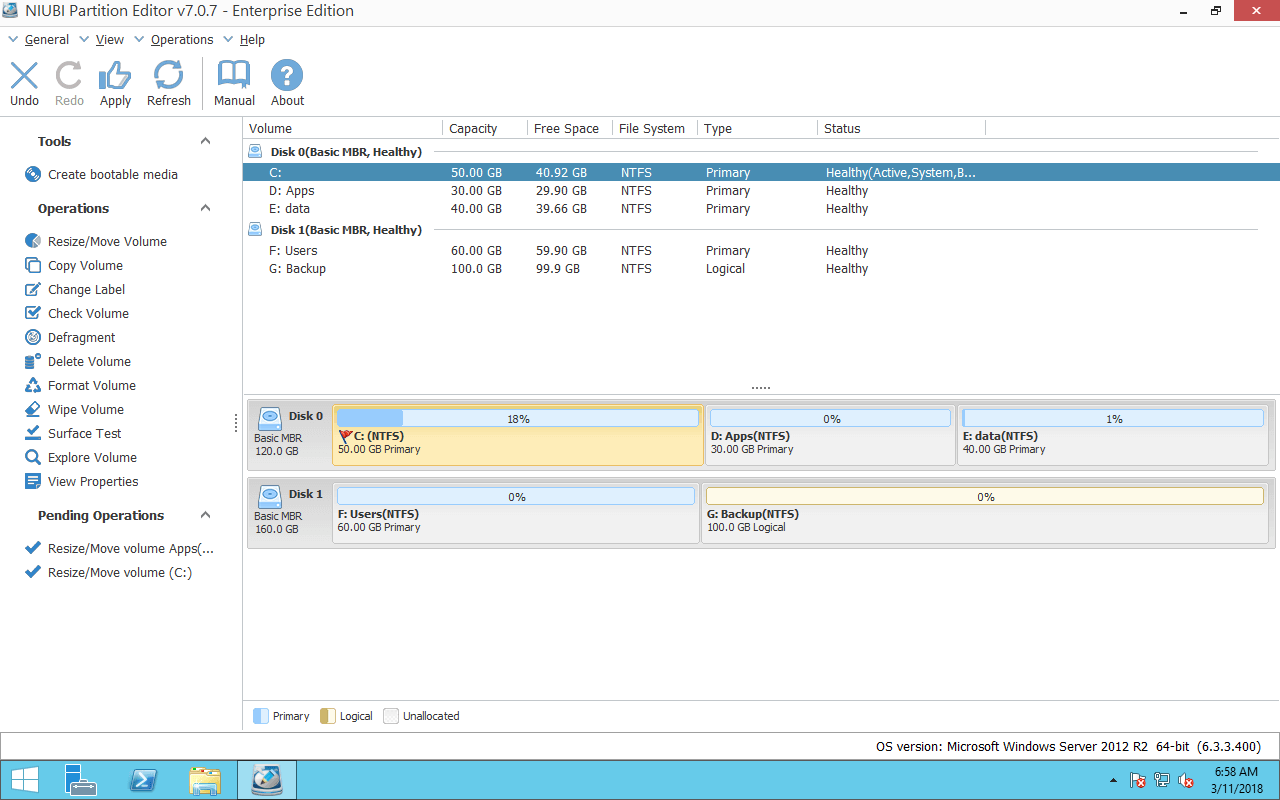
Steps 3: Click Apply button on top left to execute, C drive is extended from 30GB to 50GB.
Watch the video how to resize partition in Server 2012
In Summary
Though Windows Server 2012 has the function to shrink and extend volume, but it cannot expand C drive by shrinking D, so it is not the best tool. Instead, 3rd-party partitioning software can resize Server 2012 partition easily. However, because of the data importance to a server, remember to select a reliable and safe partition software for Windows Server 2012.